

DIY: Build Your Own Bed Crown Tester for under $200

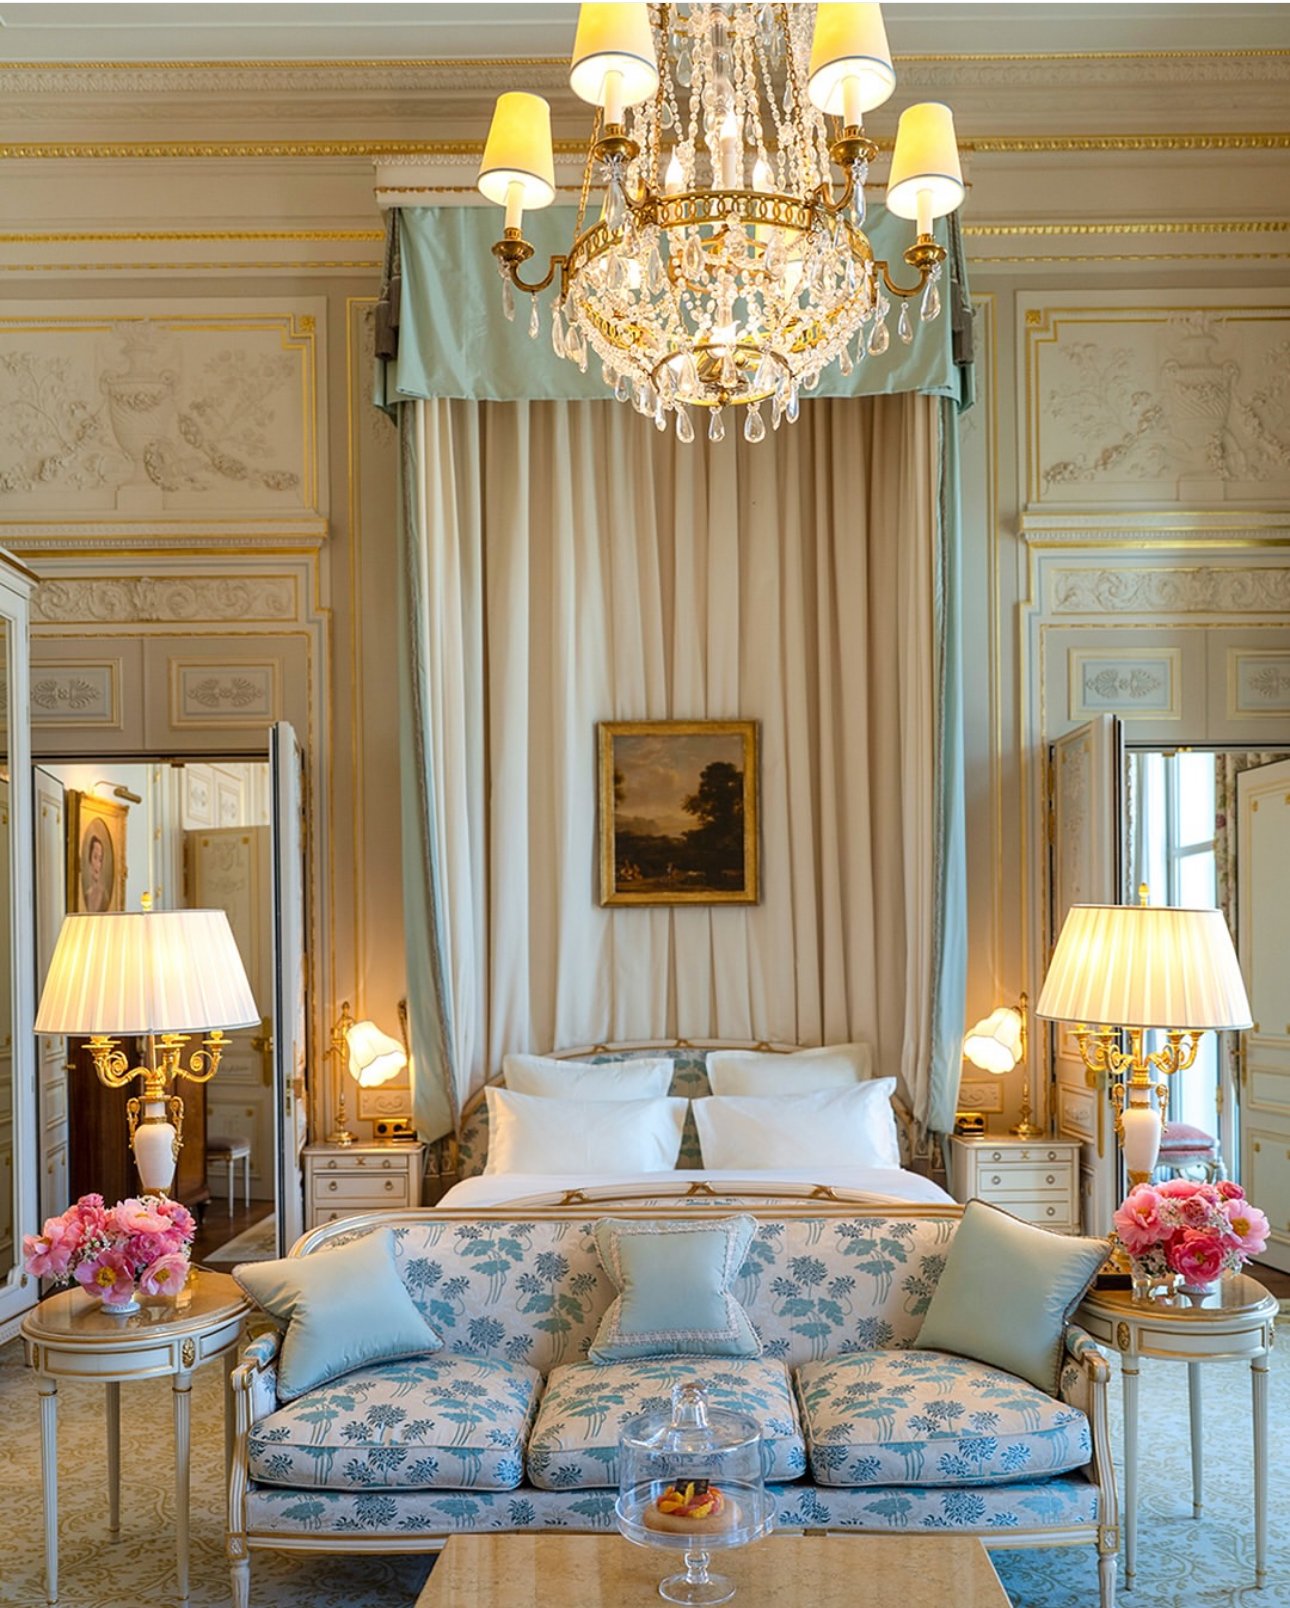
Bucket List Item: Staying at The Ritz Paris and feeling like a queen in one of their lavish suites!
Yes, I will feel a bit guilty for splurging to such an extent but seeing as I grew up with very little money, I will consider it an acceptable splurge. I did my time in the living without world so when the day comes that I can spend this kind of money I am going to do so shamelessly. However, until that day comes, I’m going to enjoy sleeping underneath this beautiful bed crown tester made with my own two hands.
I scoured the internet for weeks hoping to find anything that would resemble arches, window treatments, anything that would help me recreate their famous Windsor Bedroom or Suite Vendôme. I either found nothing that was the right fit or something that could possibly work for the low price of $800 starting * cough breathe Kait breathe*. I quickly realized that if I wanted the perfect tester I would have to make it…and I’m so glad I did!
If you’re like me and want to sleep under pure luxury without breaking the bank —or a sweat because this was incredibly easy to put together— then keep reading and let the DIY begin!
The Goal:


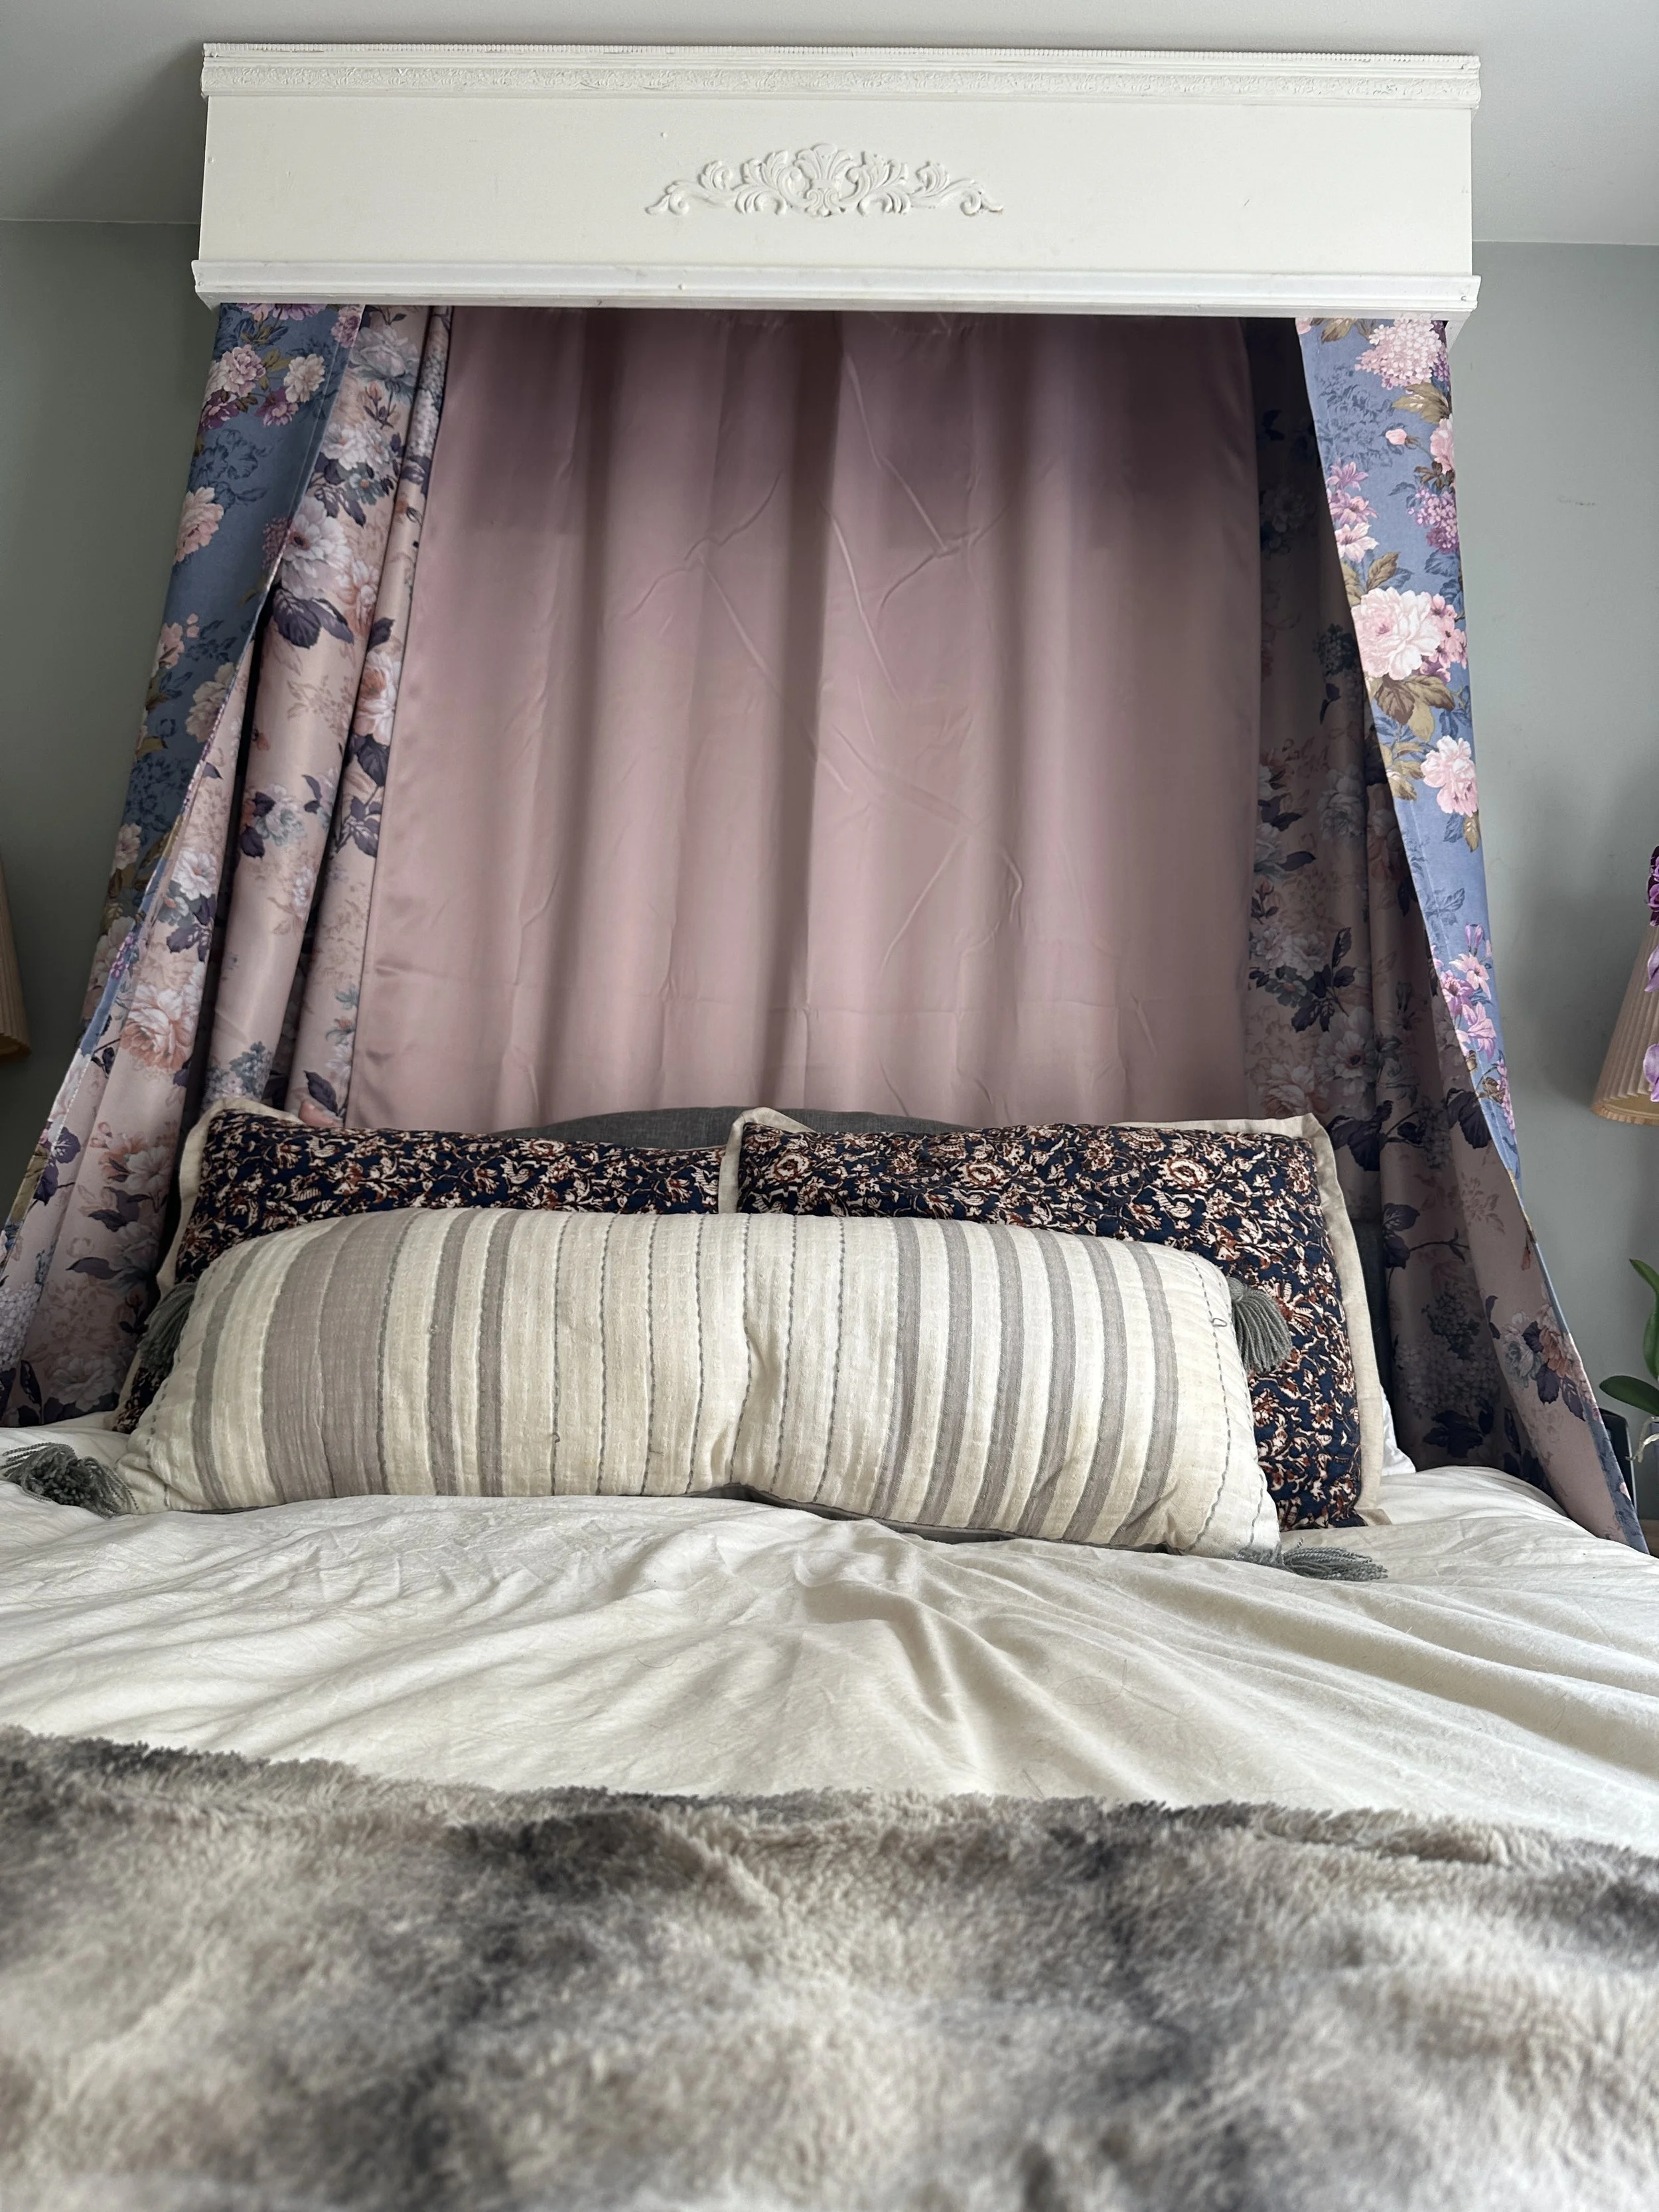
The Final DIY Result:


If you’re already a bit scared because you don't have saws or a lot of space to make this in your home, don’t worry! This doesn’t require either. I got everything cut at Home Depot for free, wood glued and nailed it together, painted it and then hung it up on the wall. I’ve bought IKEA bookcases that were harder to put together than this was.
Everything You’ll Need
Nails
Screwdriver
Electric Drill (not necessary but it will make the process easier)
Total Price: $161
Building Your Tester
I didn’t take a lot of pictures during the building process because I was fully focused so my apologies for that. When I turn into Bob the Builder I tend to get consumed in that world, but that just means I’m giving you tips to make a sturdy and cared for piece that will last you forever.
I have a queen bed and wanted this to fit perfectly above it, which required a 5 foot long solid piece of wood. Having at least 12 inches width allowed me to add the decorative trims on the top and bottom along with the appliqué in the middle without making it look too cluttered.
I was able to get an 8 foot piece of wood for furniture at Home Depot and have them cut it for me for free. That one piece of wood was all I needed to make the entire piece. I asked them to cut (1) 5 foot long piece and (2) 14” long pieces for the sides. This will leave you with a leftover 8 inch long piece of wood. I didn’t use the leftover piece but I kept it in case somewhere down the road it comes in handy on another project.

If you have a King size bed you could still make it work with this one piece by getting them to cut a 76 inch long piece with (2) 10 inch cuts for the sides. It won’t be as far off the wall as the Queen size would be but it will keep you from having to buy a second piece of wood and will still look great.


I wanted to add some detailing to the top and bottom trims. Thanks to endless crown moulding and base board options this is super simple and customizable for every taste. I really wanted to something that gives off French decor and this one was perfect!
I knew I’d be painting the entire Tester white so I went with a pre-painted white base board for the bottom trim. You can get one that’s unpainted for a little less but it’s only about a $4 difference.
I nailed used wood glue to connect them to the Tester along with connecting the 14” side boards to the front board. I also nailed everything into place for sturdiness but this wood glue works amazing! I probably could’ve done without nailing the base board and moulding into place and just trusted in the glue but I’d rather not have a trim fall on my head a year later in my sleep.
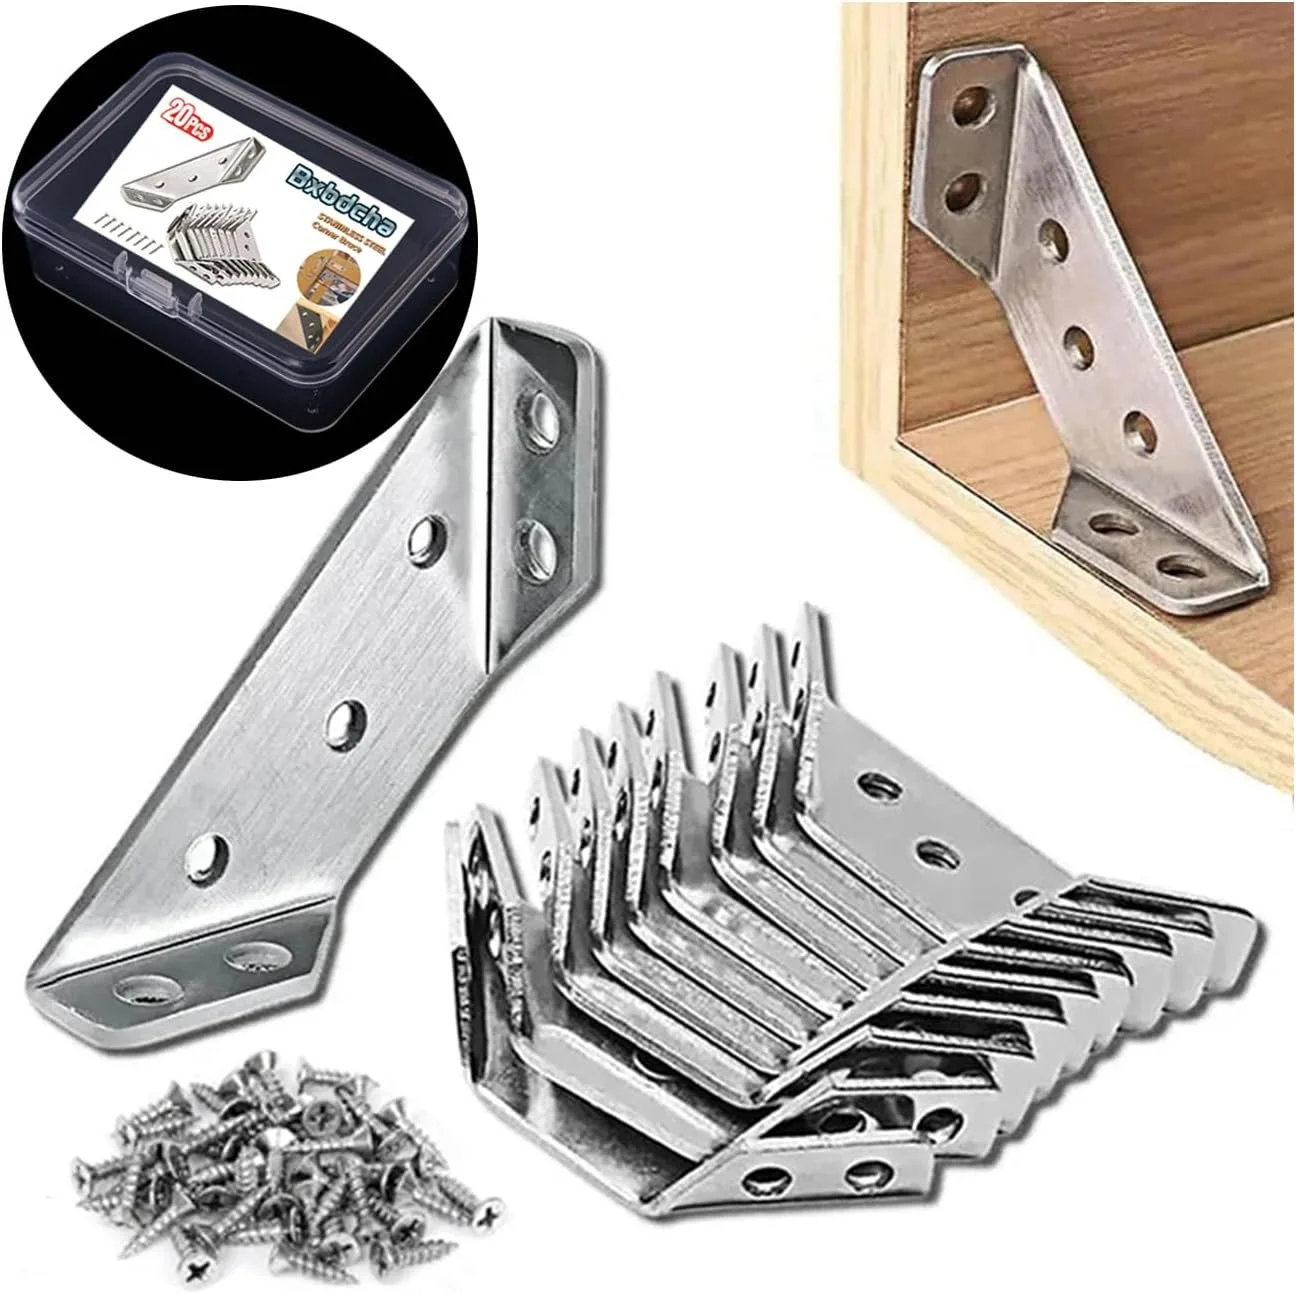
For some added reinforcements, I used these corner connecters on the inside of the Tester. The nails probably would’ve held up just fine but again, I like to cover bases…especially when the final product will be hung above my head while I sleep. I want to lay my head down and appreciate my hard work without a single fear of anything falling.
Next step was to add the appliqué to the middle for that extra chic look. This only cost about $8 but added so much value to the project! I glued it into place with the same wood glue I used for everything else. I didn’t want to use nails since they could cause it to split. It’s a small enough piece that the glue will hold it without worry of it falling off later on, plus I’m going to be painting the whole Tester providing added support to keep it in place.

Decorative Appliqué ($8)
After at least 24 hours, your glue should be perfectly dried and holding everything together. It’s time to paint! I wanted to use the same color as my window and base board trims so everything flowed beautifully. Thankfully, I had plenty leftover so I didn’t have to buy any more. I used Behr’s Ultra Pure White Eggshell Enamel Zero VOC Interior Paint. I let the Tester sit overnight to fully dry. Paint can be a little expensive so if you don’t already have some leftover that is a color you’d like to use this will probably push your budget to just under $200.

Time to Add Curtains
I was searching for fabric that would look elegant and similar to that of the Ritz: gorgeous pattern on the outside with a lighter plain color on the backside. This lead me to realize that fabric is EXPENSIVE! Like really really really expensive. I was completely in the dark on how much fabric cost until this adventure but thankfully I found a pair of panels on Amazon that worked for my vision. They weren’t exactly what I had in mind from the start but they blended so beautifully with the solid pink panel I used for the backdrop.
I’m usually not a fan of grommets on my curtains but since you won’t be able to see the top 12 inches underneath the Tester it doesn’t really matter. They’re going to be the easiest to use for the design so I learned to love them for this project.


Equipment to Connect & Hang Your Tester
You’re almost done and ready to hang your Tester. You just need a few pieces to get it up on your wall.
This was the only part I struggled with, but only because it’s a long piece of wood to hold with one arm while trying to screw one side into the wall with the other. I asked my neighbor to come over and lend a hand. I definitely recommend asking for help on this part but just so someone can hold it against the wall while someone else screws it into place. The finished product was very light — maybe 10 or 12 lbs — so it’s not difficult for one person to hold in place. Especially since it will be flush with the wall and ceiling so those two will assist you with keeping it in place.


Screw Hooks for Hanging Your Curtains
First, add your screw hooks to the inside. Screw hooks are going to allow you to hang your curtains without buying extra rods. You’ll still need one curtain rod to go on the wall above your bed for your solid backdrop curtain though.
Lay your outer curtain flat against the interior of the 5 foot long piece starting about 3” from the corner. Place a screw hook at the first grommet hole. Now do the same for the 14” side pieces. This should only require about 2-3 more screw hooks. Don’t worry about the rest of the grommet holes as they’re going to share the curtain rod holding up your solid backdrop curtain.
Wall Mounting Brackets
Now add your wall mounting brackets. The L-Shaped Brackets will connect to the wall and the 14” side pieces to mount your Tester. I only used two — one on each side piece — but if you’d like you can use two on each side or an additional two in the middle of the 5 foot long piece to connect it to the ceiling, as well. I personally don’t think this is necessary but it will offer a more solid connection.
Make sure that you place the brackets on the very edge of the wooden sides so that it will be flush with your wall. I put that leftover 8” piece of wood to good use and placed it up against the end of the 14” side piece. This let me place the L-Bracket directly up against the edge of the 14” side without going too far over.
The L-Shaped brackets come with screws and anchors but I absolutely hate those flimsy plastic ones. They always seem to bend before they even get all the way into the wall. No matter what, I always seem to have a problem with them or notice floating shelves slowly but surely falling from the wall over time. I suggest using these metal self drilling anchors instead. They hold up to 75 pounds and have never let me down…or anything I use them on.
Position your finalized Tester onto the wall — this is when you’ll want to call that friend to help you hold it up. Mark the location for your self-drilling anchors on the wall and insert them first. Once they’re firmly inserted and flush with your wall you can line the Tester up with them and screw it into place.
Et Voila!
Now you have a gorgeous Bed Crown Tester to sleep underneath that makes you feel like you’re truly sleeping like a royal!

* This post may contain affiliate links that I receive a small commission from, at no cost to you. I only recommend products I genuinely love. Please see my full Disclosure policy for any questions. I always appreciate any support to keep this site running!
Thank you!*
